 C# for Unity遊戲程式超速入門班
 MOS 2019 PPT考衝班
認識Angular中的路由導覽(Nav),建立萬用路由及http404頁面

文、意如老師
任務一:認識路由導覽(Nav)-設定路由連結(RouterLink)
任務二:認識萬用路由
任務三:建立Http 404頁面
任務一:認識路由導覽(Nav)-設定路由連結(RouterLink)
在樣板內可使用任何標籤來嵌入路由連結(RouterLink)。
範例如下:
開啟路徑 src/app/app.component.html
程式碼:

輸入完後,啟動專案指令為ng serve --open

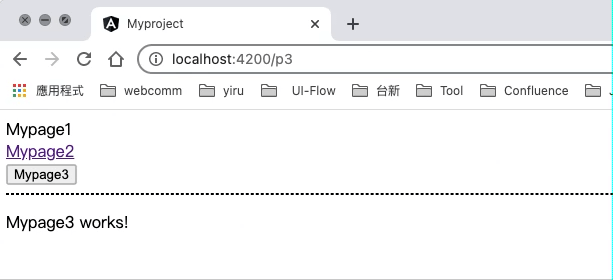
點擊Mypage1、Mypage2、Mypage3,分別連結到/p1、/p2、/p3,並會將連結頁面的內容顯示在此頁最下方。
任務二:認識萬用路由
如果輸入了不存在的路徑,例如:/p123 ,此時按下F12開發者的Console即可看到跳出路由錯誤訊息。


為了避免錯誤訊息,Angular中提供了一個萬用路由(**),把路徑設定為** ,表示路徑可為任意值,如設定中的路由path都不符合時,就會跑萬用路由將位置導至(redirectTo)所指定的路徑。
開啟路徑:src/app/app-routing.module.ts
在路由規則中最後一行加上萬用路由
{ path:'**',redirectTo: ''}
redirectTo如為空值則將會導回首頁,(http://localhost:4200/),因此將萬用路由放置規格中的最後一行。

萬用路由基本上不應該被執行到,路徑錯誤基本是程式中的bug,或是使用者隨意在網頁中任意在網址列中輸入一些不存在的路徑,因此一般的使用者是無法排除的,只能將這個頁面導引至首頁可以讓使用者繼續操作。
任務三:建立Http 404頁面
404為Http狀態碼,當在瀏覽網頁時,伺服器無法回應或是其它非預期的錯誤時,有可能是對應網頁已被刪除、移動或從未存在。
剛剛第一種作法是直接將這個錯誤直接導向首頁,而第二種則是將其導向404頁面,此方式也是所有網站中最普遍的方式,也更容易分析錯誤的可能原因。
步驟一:建立Http-404 元件
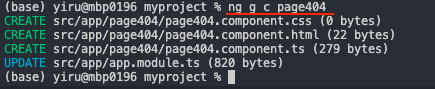
輸入指令ng g c page404建立一個page404的元件(component)

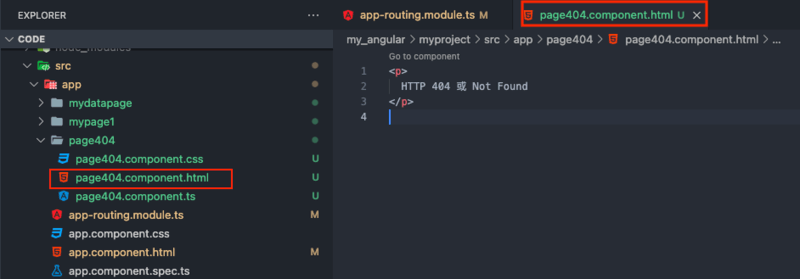
步驟二:開啟路徑srcapppage404page404.component.html
輸入程式碼:

步驟三:將萬用路由指向 Page404
路徑srcappapp-routing.module.ts
引入Page404Component 元件
import { Page404Component } from './page404/page404.component';
將萬用路由指向 Page404Component
{ path: '**', component: Page404Component }

啟動專案 ng serve --open,
輸入不存在的網址,你會發現已經成功導向HTTP404頁面了。
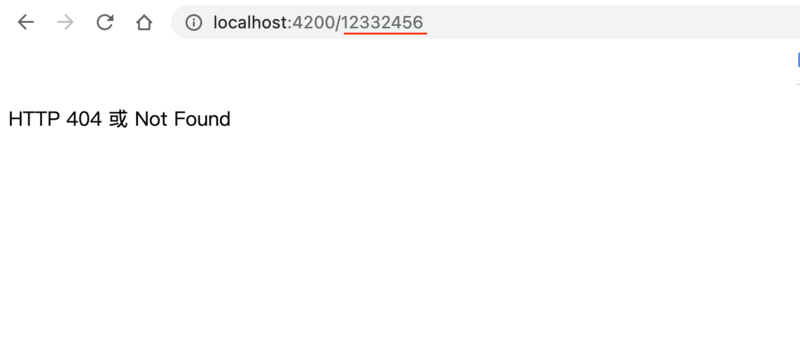
但是網址列仍然是錯誤的,如希望網址跟著改變的話可以調整路由如下:


此時,網址除了導至page404外,同時網址也會正確顯示http://localhost:4200/page404

加入菜鳥救星官方Line並回覆「我想看文章」,不定期獲得更多知識吧!
不同頻道,不同知識!
Facebook Instagram Youtube